eXtremeRate
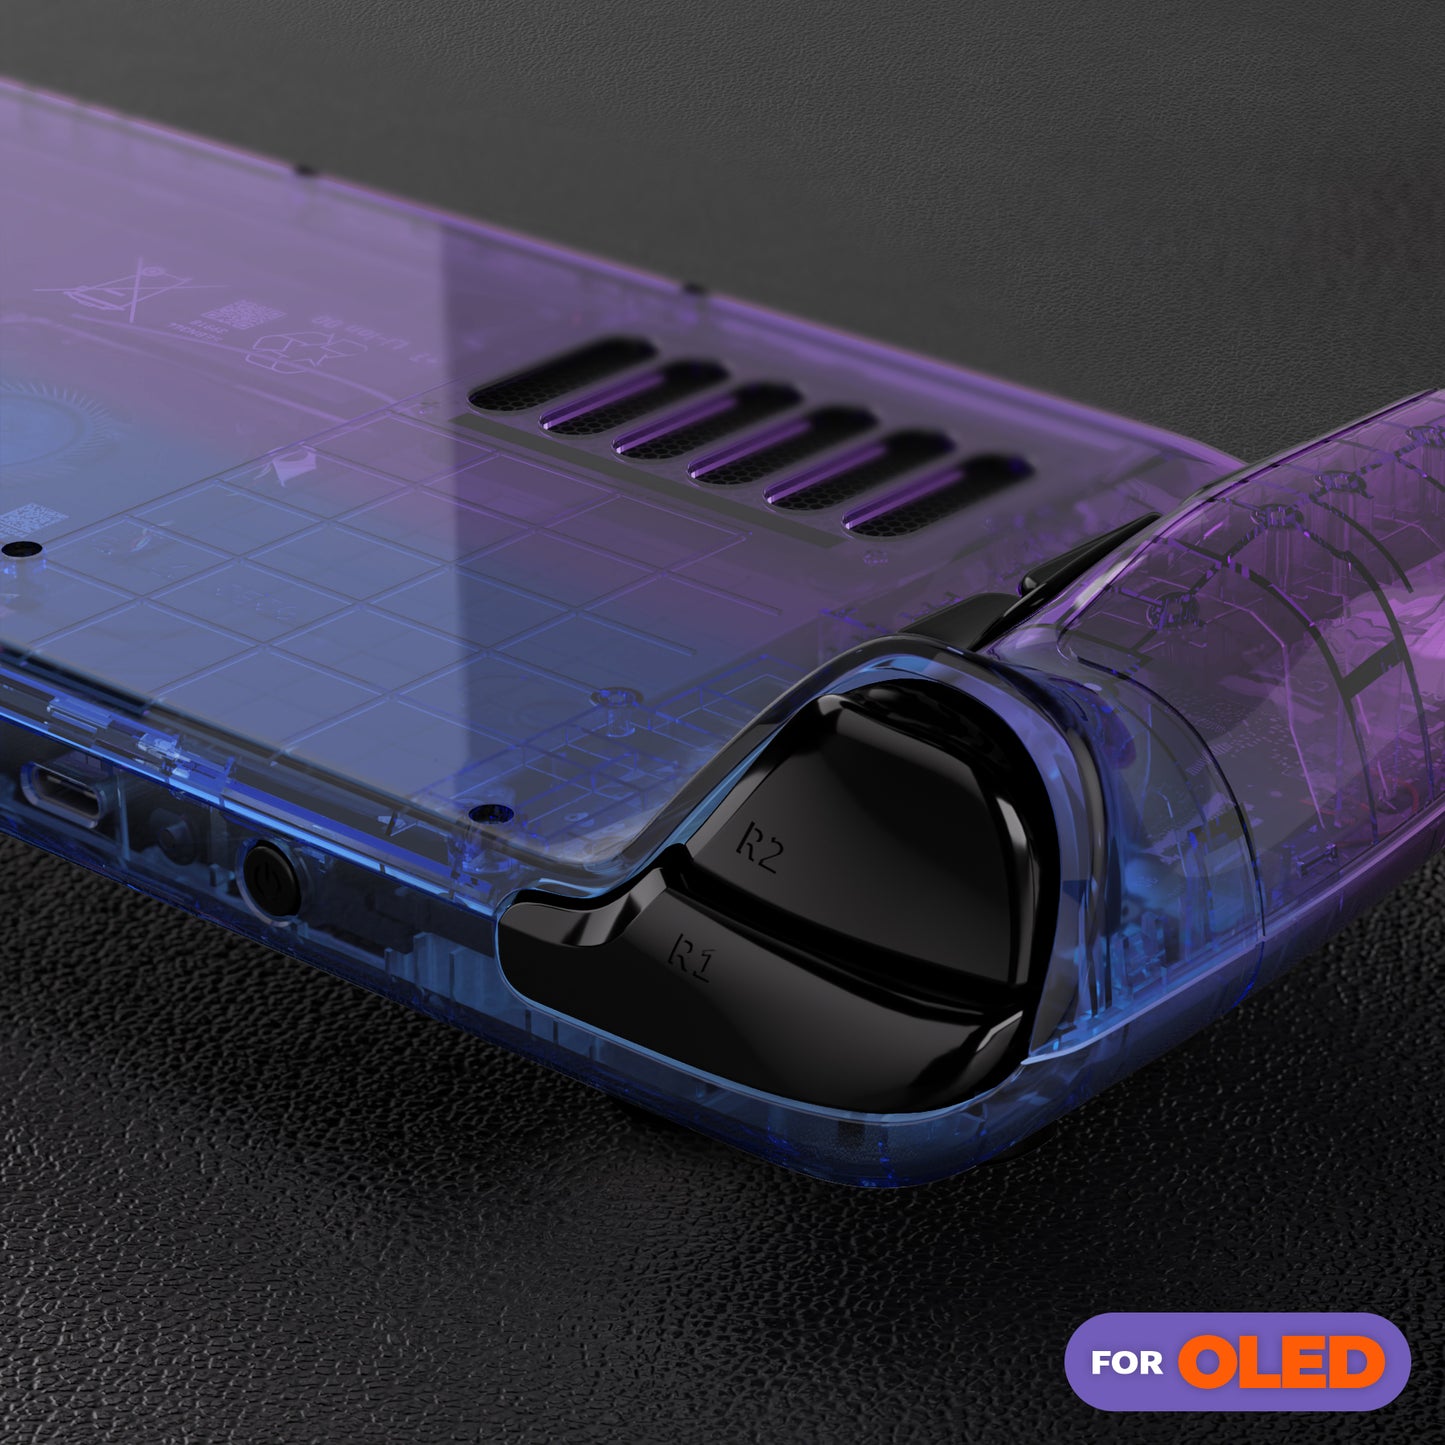
eXtremeRate Steam Deck OLED Handheld Console Replacement Shell & Button Set (Clear Gradient Blue & Purple)
eXtremeRate Steam Deck OLED Handheld Console Replacement Shell & Button Set (Clear Gradient Blue & Purple)
SKU:LQXSLP001
Couldn't load pickup availability
Want your handheld console to stand out from the rest?
We have the perfect item for you!
A great customization option for DIY enthusiasts with steam deck oled handheld consoles.
Please read before purchasing:
1. This full set shell and buttons are compatible with Steam Deck OLED handheld game console, not compatible with Steam Deck LCD (2022) handheld console.
2. This is not the console itself, it is just a full housing shell and buttons for steam deck oled, no electronic parts included.
3. Please note that the console and other parts are not included.
4. You need to disassemble the console and replace the original shell and buttons with eXtremeRate accessories, which requires advanced working skills but no soldering required.
5. When installing the faceplate, you will need a heat gun or hair dryer to remove the screen.
6. Search "eXtremeRate Full Set Shell for Steam Deck OLED" on YouTube to watch the installation video guide.
Product Features:
1. Upgrade your existing handheld console and take it to a unique and stylish level.
2. Made of high quality ABS and PC plastic, durable and practical.
3.It fits snugly on all sides and clips precisely.
4. Detachable L4L5 and R4R5 button design makes it even easier to replace the back buttons.
5. Choose from a variety of colors to personalize your handheld console.
Package Contents:
Backplate *1
Faceplate *1
Full set of buttons *1
Screwdriver *2
Open shell tool *1 set Screws *91
Spring *8
Note: The console and other parts are not included!
Installation Tips:
1. Installation difficulty: High
2. Duration: 2 hours or more
3. Patience required: High
4. Go slowly, check all connections and keep screws and internal parts organized.
5. Watch the installation video guide on YouTube, pausing and rewinding as needed.
6. When reassembling the console, be careful not to overtighten the screws. You don't want to strip the threads or overtighten the screws.
7. The device has several very delicate ribbon cables that will need to be disconnected and reconnected.
8. We recommend using tweezers instead of your fingers when moving small parts.
9. When disassembling the screen, please do not heat it too much or for too long. Also, when using open tools to disassemble the screen, please keep the distance within 3mm to avoid damage.
Precautions before installation:
1. Make sure the battery power is below 25%. A charged lithium-ion polymer battery can be dangerous if accidentally damaged.
2. Before installation, please remove the microSD card to avoid damaging the back cover.
3. Please note that once you replace the trackpad cover, you will not be able to restore the original trackpad.
4. There are many types and numbers of screws, so we recommend that you sort and organize the removed screws as much as possible to make reassembly easier later.