eXtremeRate
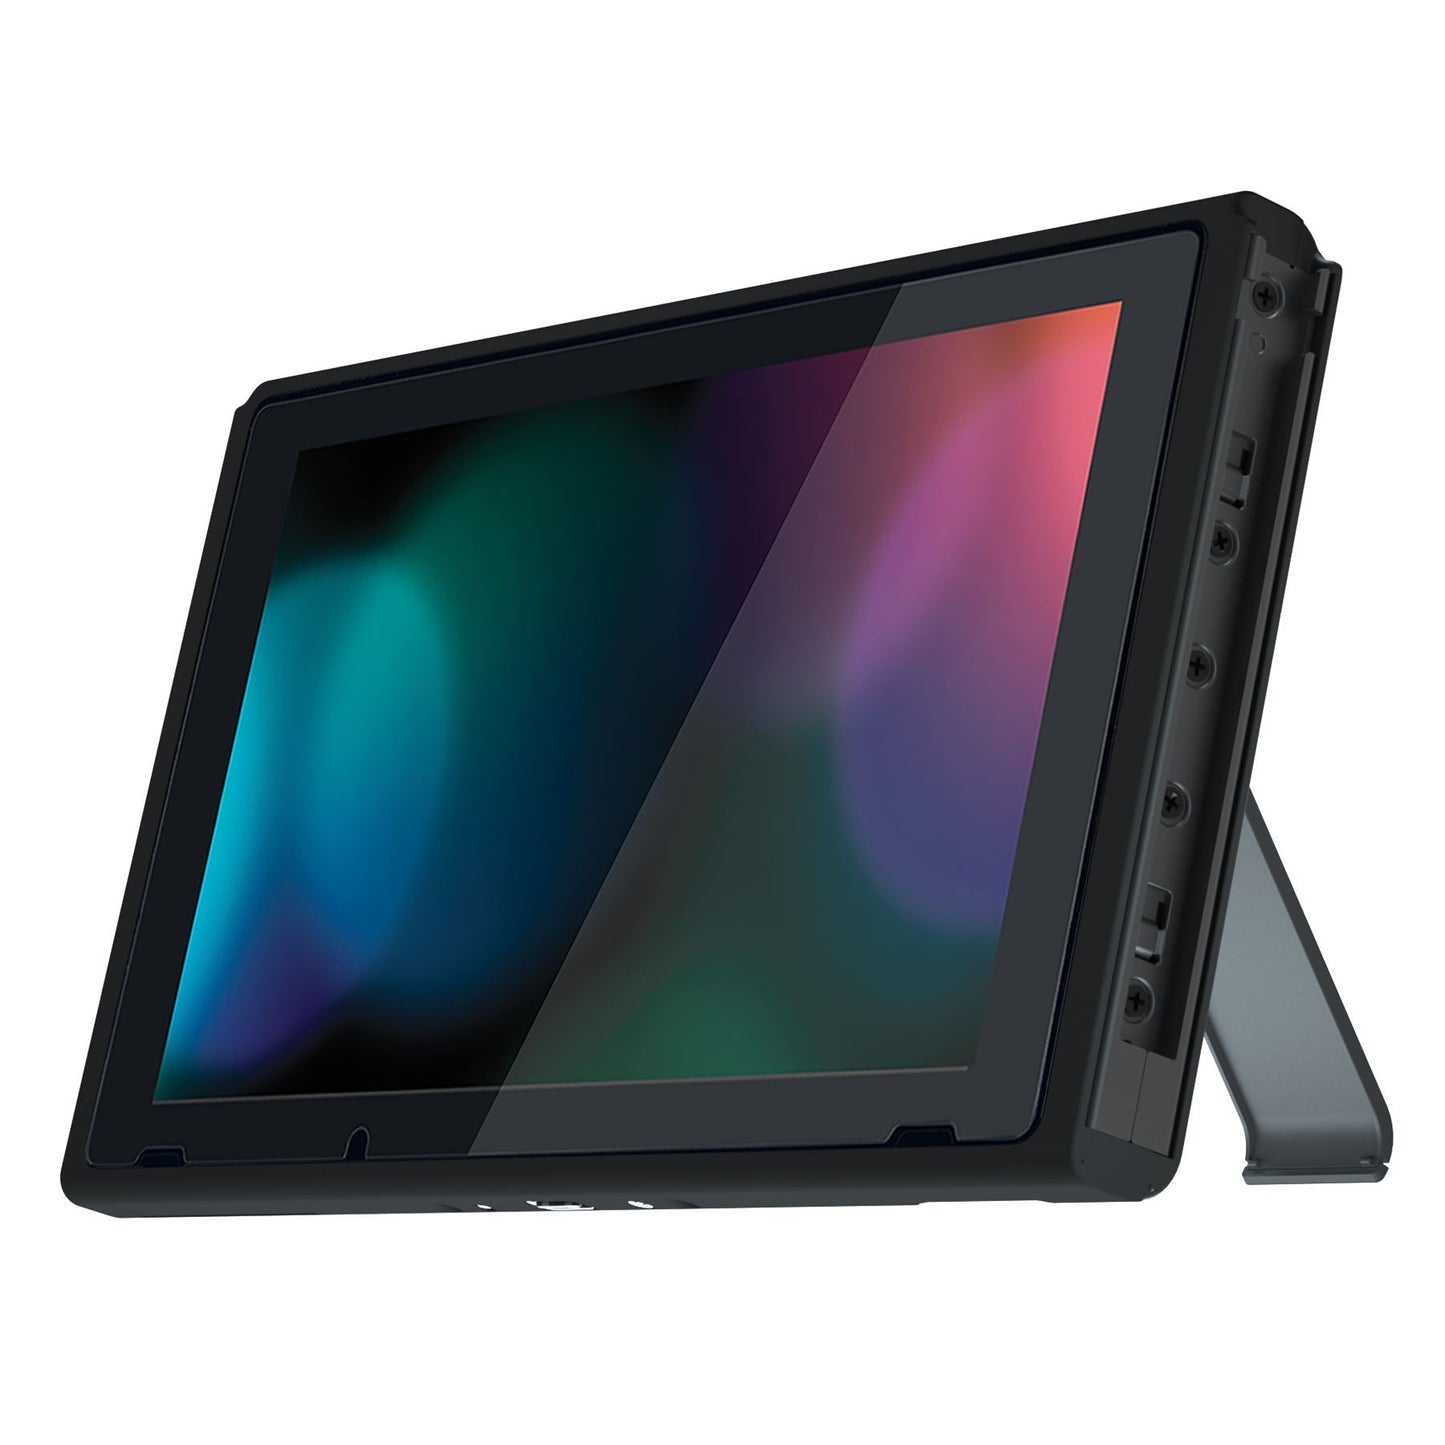
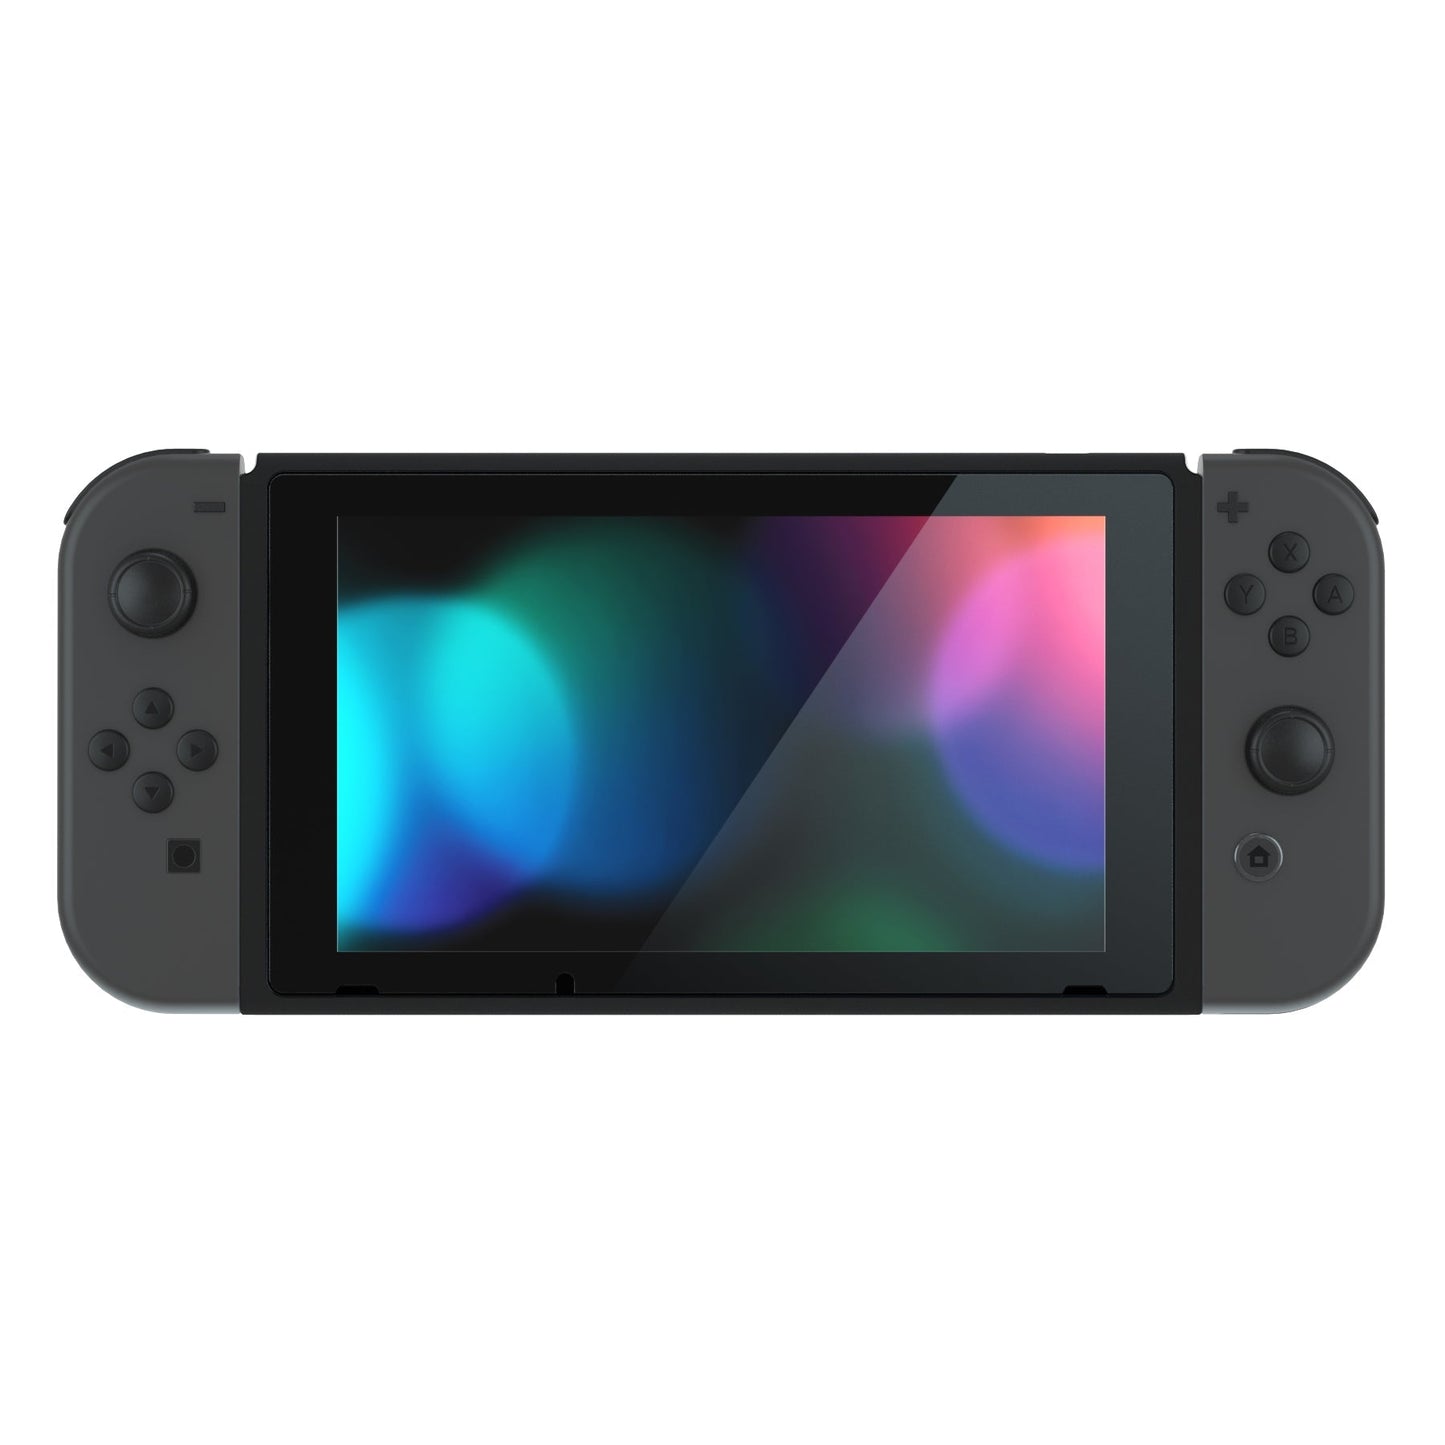
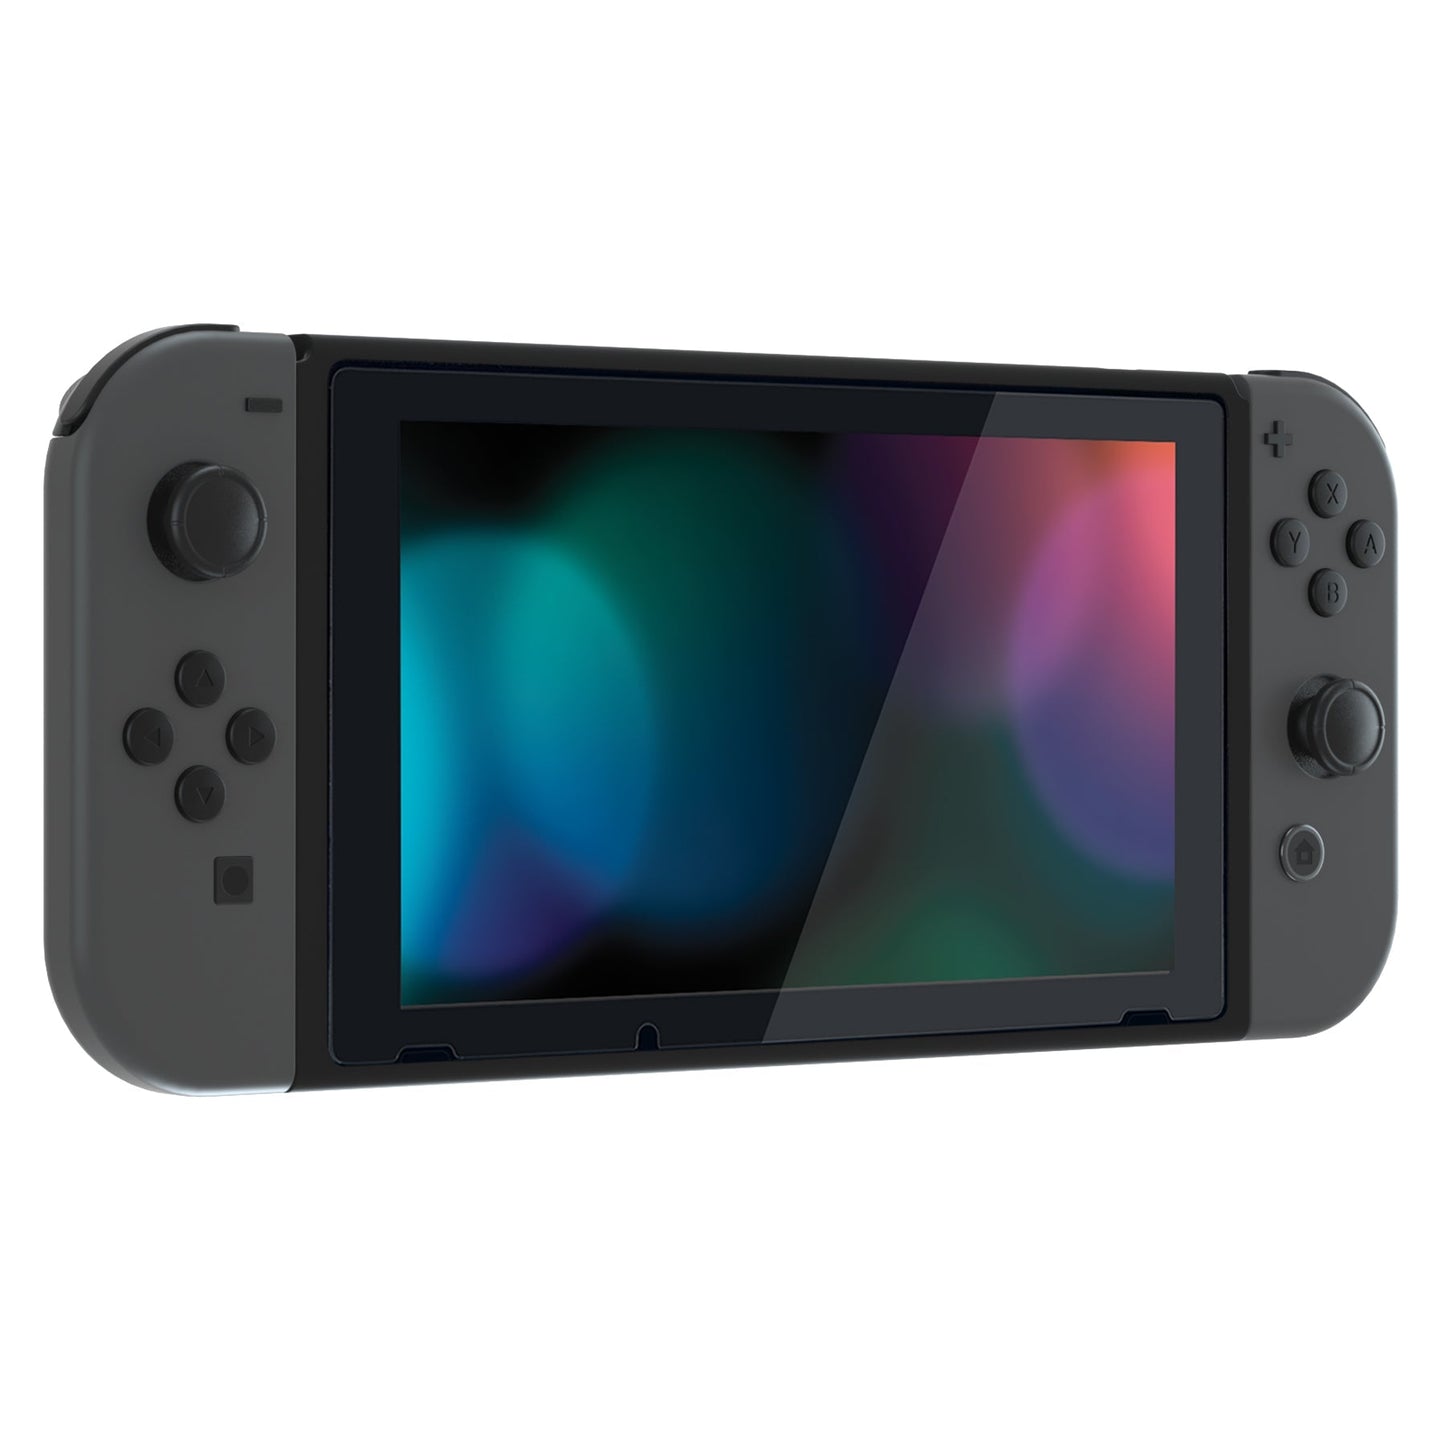
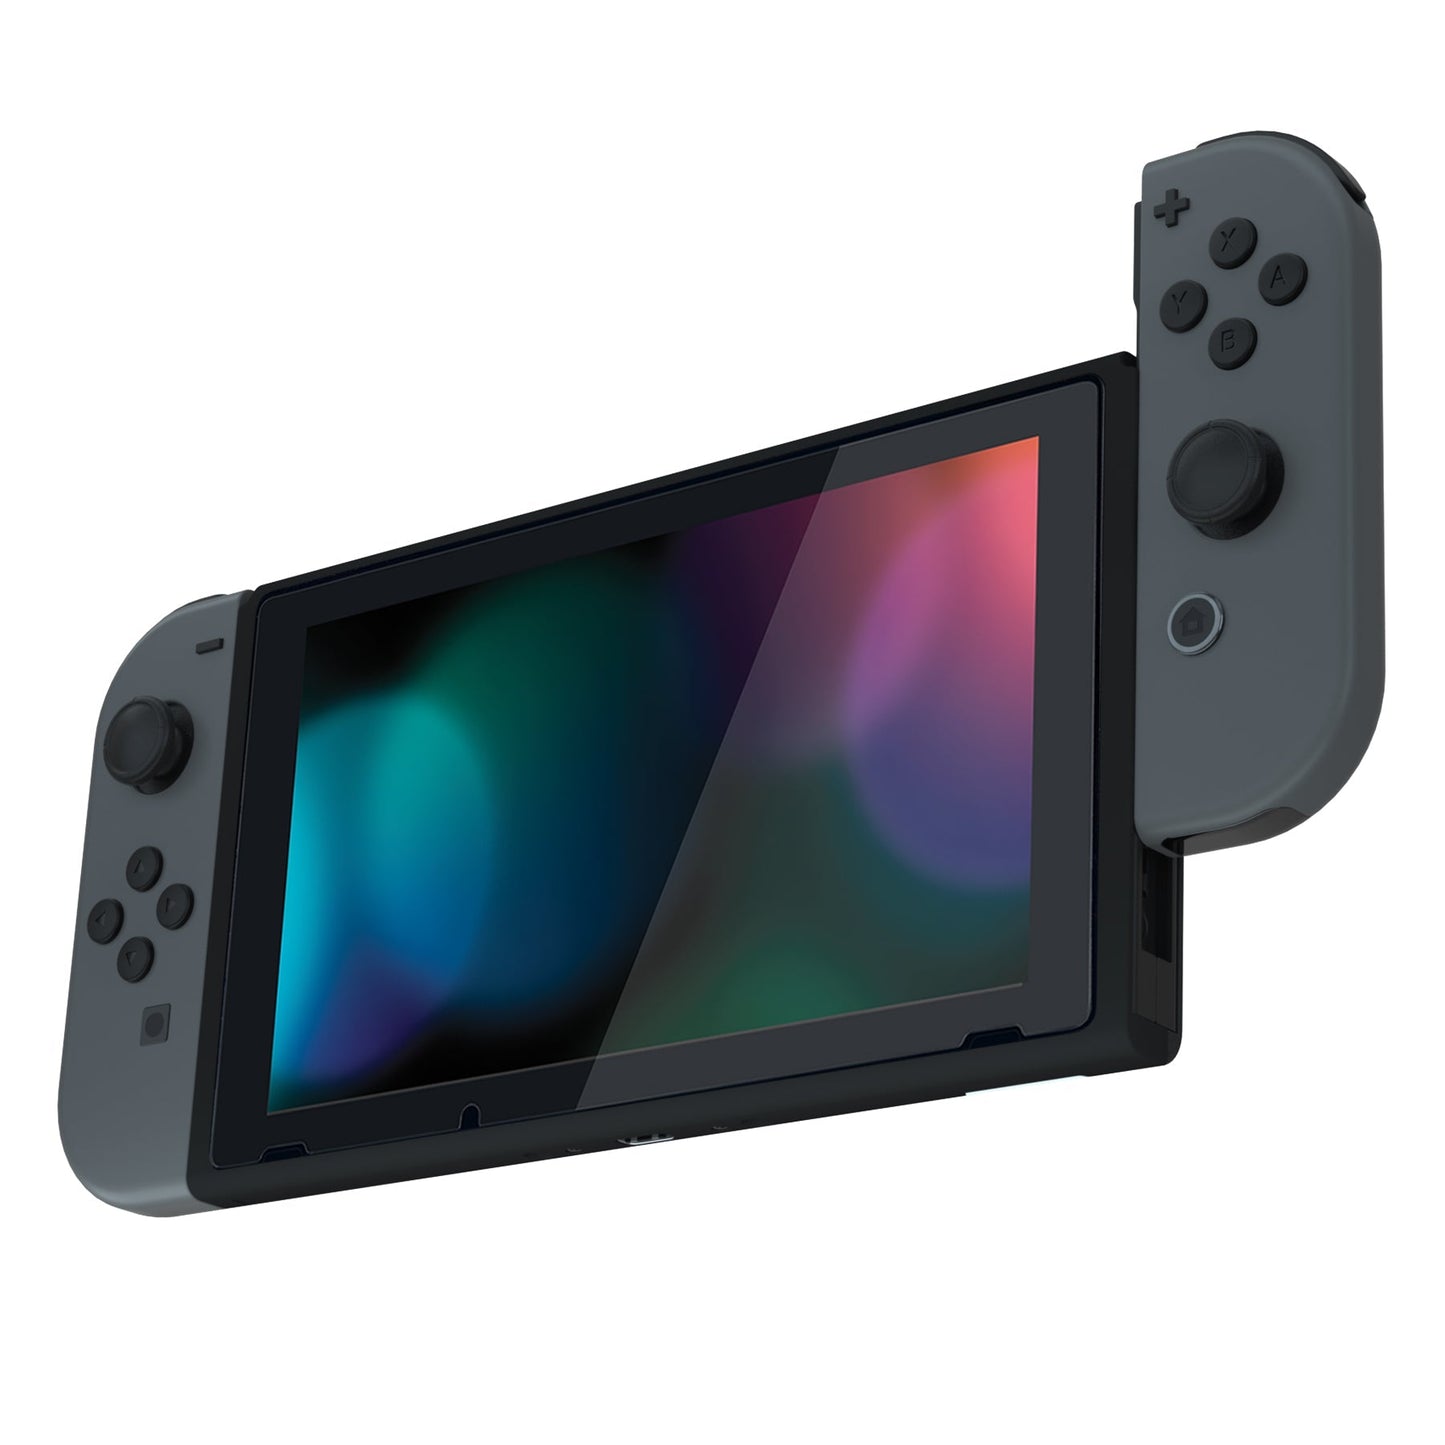
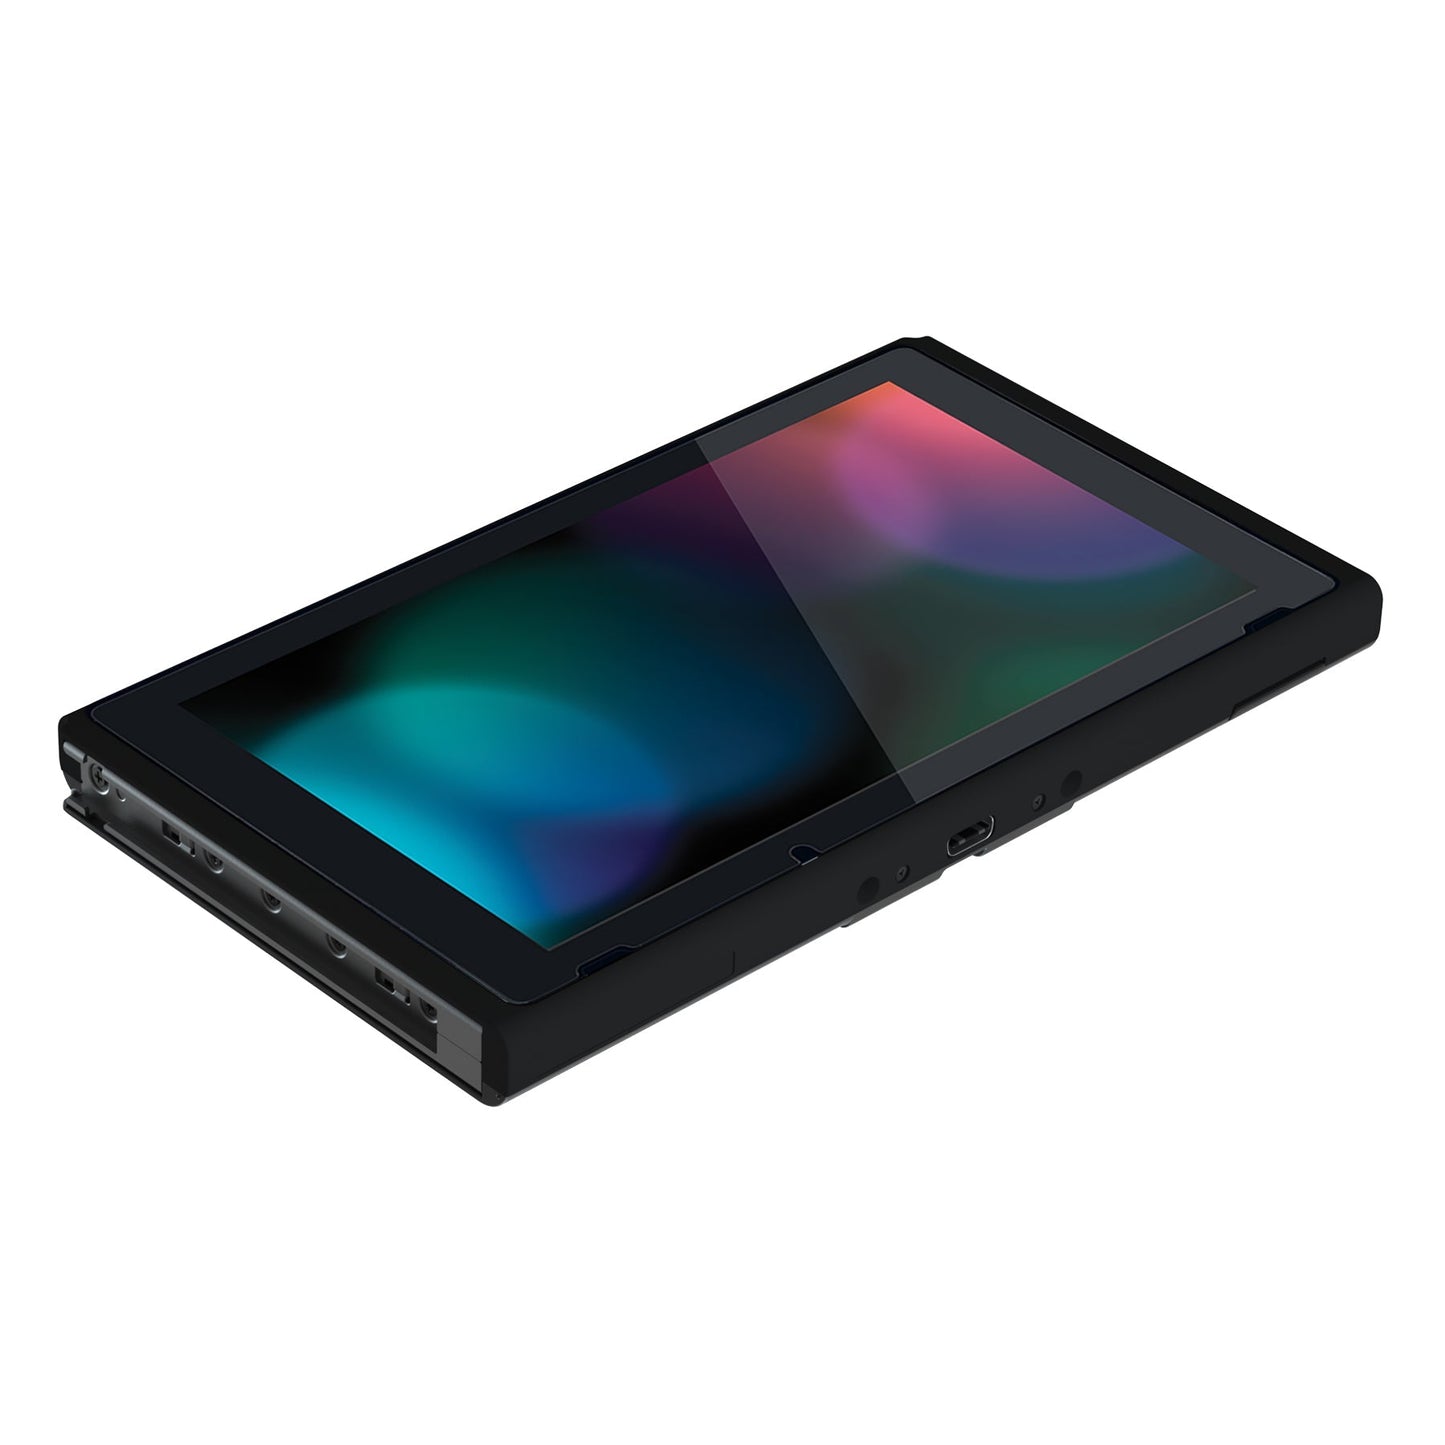
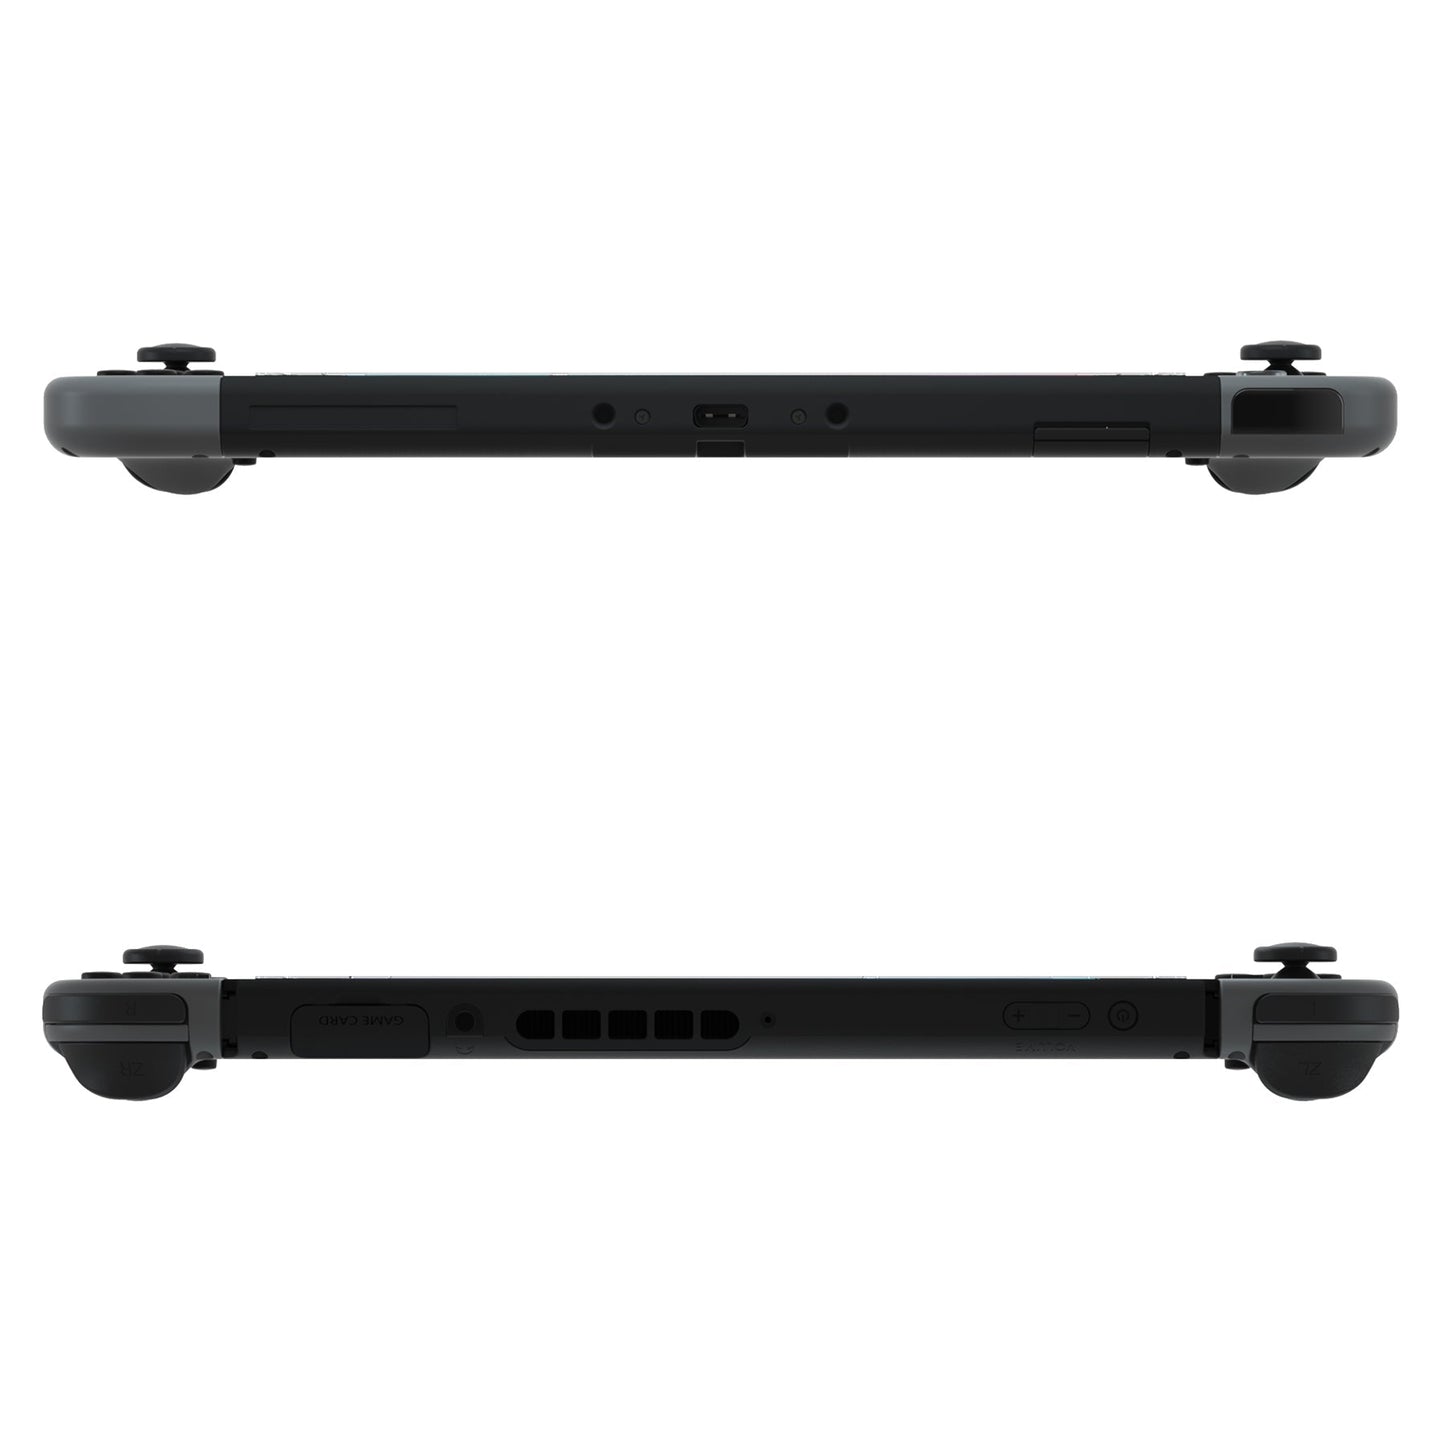
eXtremeRate DIY Replacement Housing Shell for NS Switch Console, Front Frame with Volume Up/Down and Power Buttons (Black)
eXtremeRate DIY Replacement Housing Shell for NS Switch Console, Front Frame with Volume Up/Down and Power Buttons (Black)
Regular price
¥1,999 JPY
Regular price
¥0 JPY
Sale price
¥1,999 JPY
Unit price
per
Shipping calculated at checkout.
SKU:VEP310
Couldn't load pickup availability
Replacement Front Shell for Nintendo Switch Console Tired of your old standard grey color?
This is the way to go!
A great customization option for DIY enthusiasts with a Switch.
Product Features A stylish upgrade for your Switch.
Made from durable, non-toxic ABS plastic for safe use.
Available in a variety of colors to match eXtremeRate's custom Switch console backplate.
Personalize your Switch console.
READ BEFORE BUYING DO NOT MISTAKE THIS TO BE A SWITCH CONSOLE!!!
This is a front shell for Nintendo Switch console which does not contain any electronic parts. Console, Joy-Con, buttons and other parts are not included!!!
This requires disassembly of the console and replacement of the original front shell. Experience installing electronics is required. Search "eXtremeRate front shell for Nintendo Switch Console" or "_WVm7Qrl7pM" on YouTube for installation video guides.
Installation Tips: Installation Difficulty: High; Time Required: Over 1 hour; Patience: High; Note: Installing this product will void your console's warranty. As this is a DIY project, you are responsible for any damage to your controller. However, we are always available to assist you with the installation.
Proceed slowly. Check all connections. Keep screws organized.
Watch the installation video on YouTube, pausing and playing frequently.
When removing the screws on the outside of the Switch, make sure you are using the correct screwdriver.
Be careful not to remove the triangle screws or overtighten them.
Use tweezers instead of your fingers to install the small parts into the new case.
Ensure all necessary screws are removed and circuits are disconnected before lifting off the PCB board. Using a heat gun or hair dryer can be helpful in removing the touchscreen from the old shell.
Please note that the heat gun temperature should not be too high, just use a light hot air to heat the edges of the screen evenly.
To avoid damaging the touchscreen, do not forcefully lift the screen.
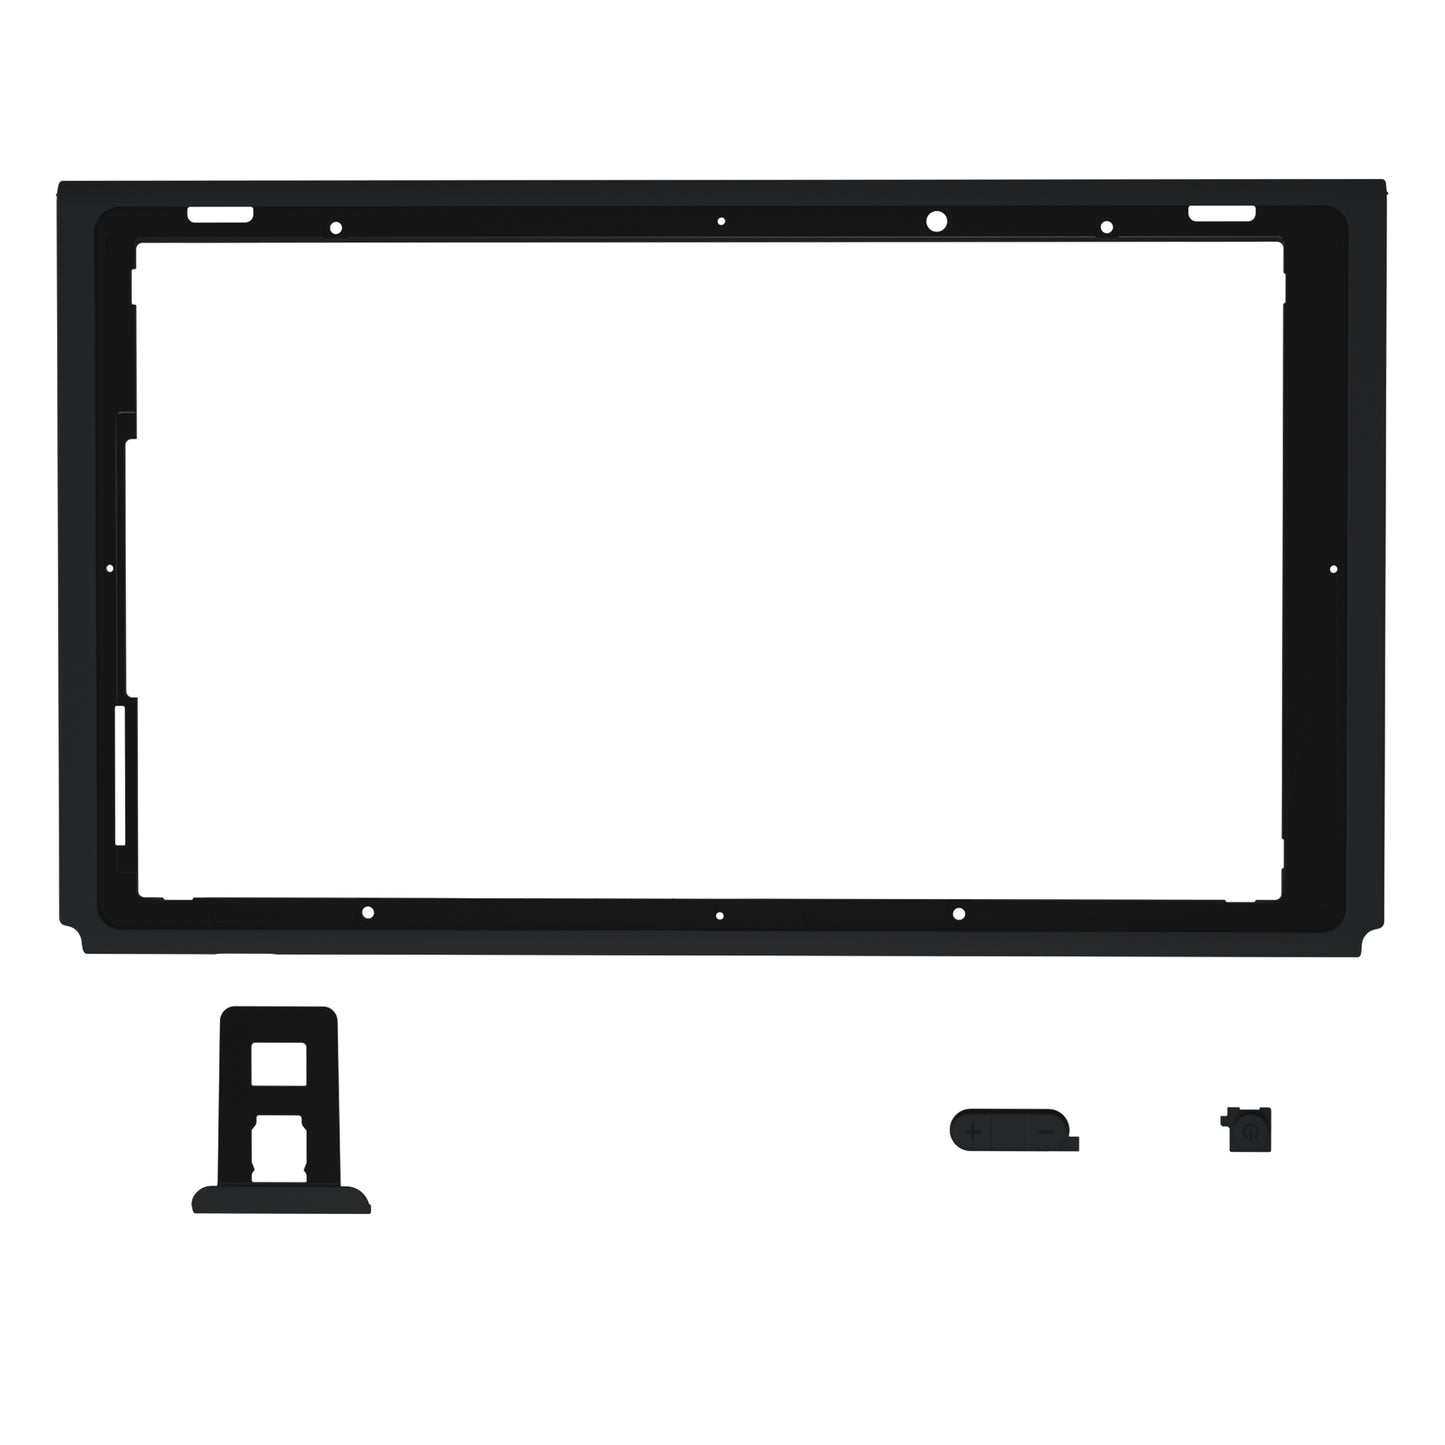
Package Contents
1x Nintendo Switch console faceplate
Volume control button (up/down) x 1, power button x 1, game card tray x 1
Pry tool x 1, Y00 screwdriver x 1, Phillips head screwdriver x 1, 37 screws
Note: The console and other parts are not included!
View full details
This is the way to go!
A great customization option for DIY enthusiasts with a Switch.
Product Features A stylish upgrade for your Switch.
Made from durable, non-toxic ABS plastic for safe use.
Available in a variety of colors to match eXtremeRate's custom Switch console backplate.
Personalize your Switch console.
READ BEFORE BUYING DO NOT MISTAKE THIS TO BE A SWITCH CONSOLE!!!
This is a front shell for Nintendo Switch console which does not contain any electronic parts. Console, Joy-Con, buttons and other parts are not included!!!
This requires disassembly of the console and replacement of the original front shell. Experience installing electronics is required. Search "eXtremeRate front shell for Nintendo Switch Console" or "_WVm7Qrl7pM" on YouTube for installation video guides.
Installation Tips: Installation Difficulty: High; Time Required: Over 1 hour; Patience: High; Note: Installing this product will void your console's warranty. As this is a DIY project, you are responsible for any damage to your controller. However, we are always available to assist you with the installation.
Proceed slowly. Check all connections. Keep screws organized.
Watch the installation video on YouTube, pausing and playing frequently.
When removing the screws on the outside of the Switch, make sure you are using the correct screwdriver.
Be careful not to remove the triangle screws or overtighten them.
Use tweezers instead of your fingers to install the small parts into the new case.
Ensure all necessary screws are removed and circuits are disconnected before lifting off the PCB board. Using a heat gun or hair dryer can be helpful in removing the touchscreen from the old shell.
Please note that the heat gun temperature should not be too high, just use a light hot air to heat the edges of the screen evenly.
To avoid damaging the touchscreen, do not forcefully lift the screen.
Package Contents
1x Nintendo Switch console faceplate
Volume control button (up/down) x 1, power button x 1, game card tray x 1
Pry tool x 1, Y00 screwdriver x 1, Phillips head screwdriver x 1, 37 screws
Note: The console and other parts are not included!